One of the challenges I’ve faced with collecting logs in AWS Elastic Beanstalk environments is getting them shipped to a central location efficiently. Recently, I’ve been working with Grafana’s Alloy collector to send logs to Loki, and I wanted to share my setup process for Installing Alloy Collector on Elastic Beanstalk.
What is Alloy Collector?
Alloy is Grafana’s newest log collector that replaces Promtail. It’s designed to be lightweight and efficient at shipping logs to Loki. The best part? It’s super easy to integrate into your existing Elastic Beanstalk deployments with just a few configuration files.
Setting Up Alloy with Elastic Beanstalk
The setup process involves two main parts: creating the installation script and configuring Elastic Beanstalk to run it post-deployment. Let’s break it down.
First, create a directory in your project for your support scripts (I usually use something like <your-project-root>/support_scripts/). In this directory, create install_alloy.sh with the installation script I’ll share below.
Next, you’ll need to configure Elastic Beanstalk to run this script after deployment. Create or update your .ebextensions/postdeploy.config file with these commands:
container_commands:
  00_create_dirs:
    command: "mkdir -p /opt/elasticbeanstalk/hooks/appdeploy/post"
    ignoreErrors: true

  01_debug_dir:
    command: "ls -la /var/app/current/support_scripts/"

  01_copy_alloy_script:
    command: "cp /var/app/ondeck/support_scripts/install_alloy.sh /opt/elasticbeanstalk/hooks/appdeploy/post/install_alloy.sh && chmod +x /opt/elasticbeanstalk/hooks/appdeploy/post/install_alloy.sh"

  02_run_alloy_script:
    command: "/opt/elasticbeanstalk/hooks/appdeploy/post/install_alloy.sh"
The Installation Script
I’ve put together an installation script that handles all the necessary setup, including installing dependencies that might be missing on Amazon Linux 1. The script also manages the service configuration and handles updates when you redeploy.
A few key things the script does:
- Installs required system packages (chkconfig, initscripts)
- Sets up the Grafana repository
- Installs and configures Alloy
- Creates a proper init.d service
- Handles both initial installation and updates
You’ll want to set up three environment variables in your Elastic Beanstalk environment:
- LOKI_URL
- LOKI_USERNAME
- LOKI_PASSWORD
The script will automatically pull these using the Elastic Beanstalk configuration utility.
Here’s where to put your log files: /var/tmp/monolog-json/*.log. You can modify this path in the config section of the script to match your application’s log location.
#!/usr/bin/env bash

# First ensure required packages are installed
yum install -y chkconfig initscripts

FILE=/usr/sbin/alloy
if [ ! -f "$FILE" ]; then
    echo "Installing Alloy..."
    wget -q -O gpg.key https://rpm.grafana.com/gpg.key
    rpm --import gpg.key
    echo -e '[grafana]\nname=grafana\nbaseurl=https://rpm.grafana.com\nrepo_gpgcheck=0\nenabled=1\ngpgcheck=0\nsslverify=0' | tee /etc/yum.repos.d/grafana.repo
    yum clean all
    yum makecache
    yum update -y
    yum install alloy -y

    # Create Alloy config directory if it doesn't exist
    mkdir -p /etc/alloy

    # Get environment variables using eb utility
    LOKI_URL=$(/opt/elasticbeanstalk/bin/get-config environment -k LOKI_URL)
    LOKI_USERNAME=$(/opt/elasticbeanstalk/bin/get-config environment -k LOKI_USERNAME)
    LOKI_PASSWORD=$(/opt/elasticbeanstalk/bin/get-config environment -k LOKI_PASSWORD)

    # Create the config file with environment variables
    cat >/etc/alloy/config.alloy <<EOF
local.file_match "monolog_files" {
    path_targets = [{"__path__" = "/var/tmp/monolog-json/*.log"}]
    sync_period = "5s"
}

loki.source.file "log_scrape" {
    targets    = local.file_match.monolog_files.targets
    forward_to = [loki.write.grafana_loki.receiver]
    tail_from_end = true
}

loki.write "grafana_loki" {
    endpoint {
        url = "${LOKI_URL}"
        basic_auth {
            username = "${LOKI_USERNAME}"
            password = "${LOKI_PASSWORD}"
        }
    }
}
EOF

    # Set proper permissions
    chmod 644 /etc/alloy/config.alloy

    # Create service script
    cat >/etc/init.d/alloy <<'EOF'
#!/bin/sh
### BEGIN INIT INFO
# Provides: alloy
# Required-Start: $network $local_fs
# Required-Stop: $network $local_fs
# Default-Start: 2 3 4 5
# Default-Stop: 0 1 6
# Short-Description: Alloy Service
# Description: Alloy Service
### END INIT INFO
# Source function library
[ -f /etc/rc.d/init.d/functions ] && . /etc/rc.d/init.d/functions

RETVAL=0
EXEC=/usr/bin/alloy
CONFIG=/etc/alloy/config.alloy
PIDFILE=/var/run/alloy.pid

start() {
    echo -n $"Starting alloy: "
    nohup $EXEC run $CONFIG >/dev/null 2>&1 &
    echo $! > $PIDFILE
    RETVAL=$?
    if [ $RETVAL -eq 0 ]; then
        touch /var/lock/subsys/alloy
        success
    else
        failure
    fi
    echo
    return $RETVAL
}

stop() {
    echo -n $"Stopping alloy: "
    if [ -f $PIDFILE ]; then
        kill $(cat $PIDFILE)
        RETVAL=$?
        rm -f $PIDFILE
        if [ $RETVAL -eq 0 ]; then
            rm -f /var/lock/subsys/alloy
            success
        else
            failure
        fi
    else
        failure
    fi
    echo
    return $RETVAL
}

case "$1" in
    start)
        start
        ;;
    stop)
        stop
        ;;
    restart|reload)
        stop
        sleep 3
        start
        ;;
    *)
        echo $"Usage: $0 {start|stop|restart}"
        exit 2
esac
exit $RETVAL
EOF

    # Set proper permissions for service script
    chmod 755 /etc/init.d/alloy

    # Enable and start the service
    # First check if chkconfig exists
    if command -v chkconfig >/dev/null 2>&1; then
        chkconfig --add alloy
        chkconfig alloy on
    else
        echo "chkconfig not found, trying alternative method"
        ln -s /etc/init.d/alloy /etc/rc3.d/S99alloy
        ln -s /etc/init.d/alloy /etc/rc5.d/S99alloy
    fi

    # Check if service command exists, otherwise use init.d directly
    if command -v service >/dev/null 2>&1; then
        service alloy start
    else
        /etc/init.d/alloy start
    fi

else
    echo "Alloy is already installed"

    # Still update config with latest environment variables
    LOKI_URL=$(/opt/elasticbeanstalk/bin/get-config environment -k LOKI_URL)
    LOKI_USERNAME=$(/opt/elasticbeanstalk/bin/get-config environment -k LOKI_USERNAME)
    LOKI_PASSWORD=$(/opt/elasticbeanstalk/bin/get-config environment -k LOKI_PASSWORD)

    cat >/etc/alloy/config.alloy <<EOF
local.file_match "monolog_files" {
    path_targets = [{"__path__" = "/var/tmp/monolog-json/*.log"}]
    sync_period = "5s"
}

loki.source.file "log_scrape" {
    targets    = local.file_match.monolog_files.targets
    forward_to = [loki.write.grafana_loki.receiver]
    tail_from_end = true
}

loki.write "grafana_loki" {
    endpoint {
        url = "${LOKI_URL}"
        basic_auth {
            username = "${LOKI_USERNAME}"
            password = "${LOKI_PASSWORD}"
        }
    }
}
EOF

    # Restart the service using available method
    if command -v service >/dev/null 2>&1; then
        service alloy restart
    else
        /etc/init.d/alloy restart
    fi
fi
Making It Work with Your CI/CD Pipeline
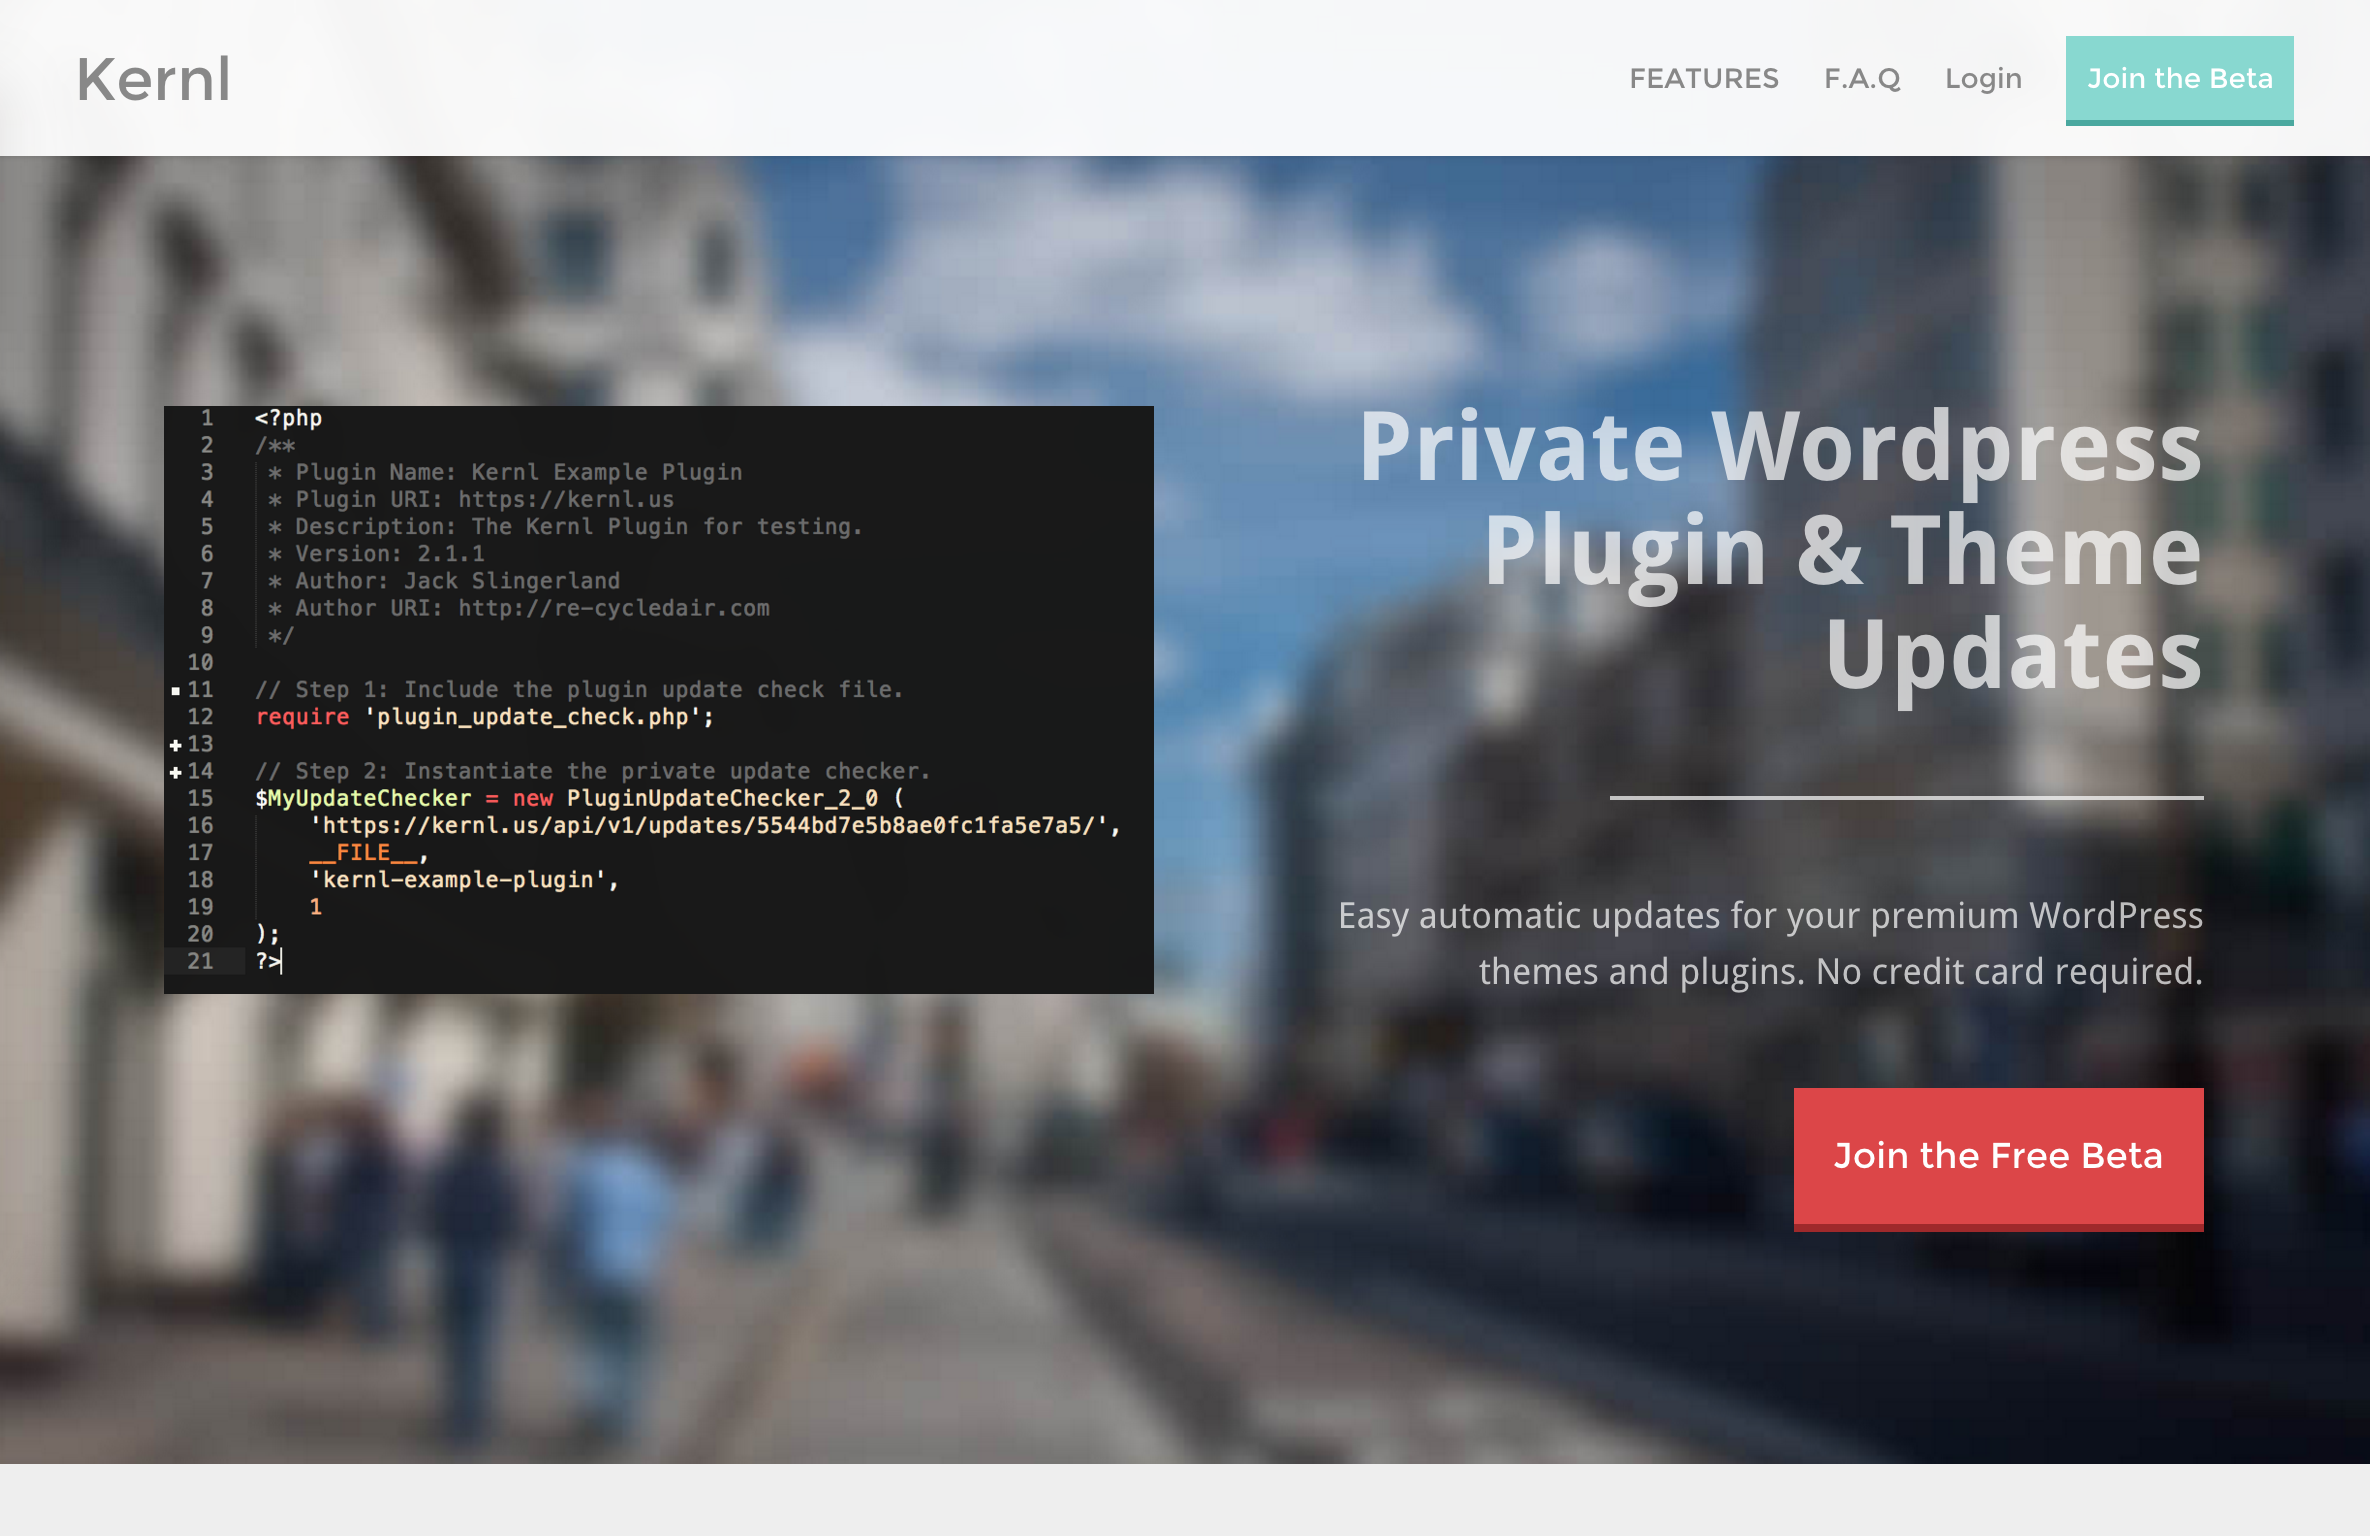
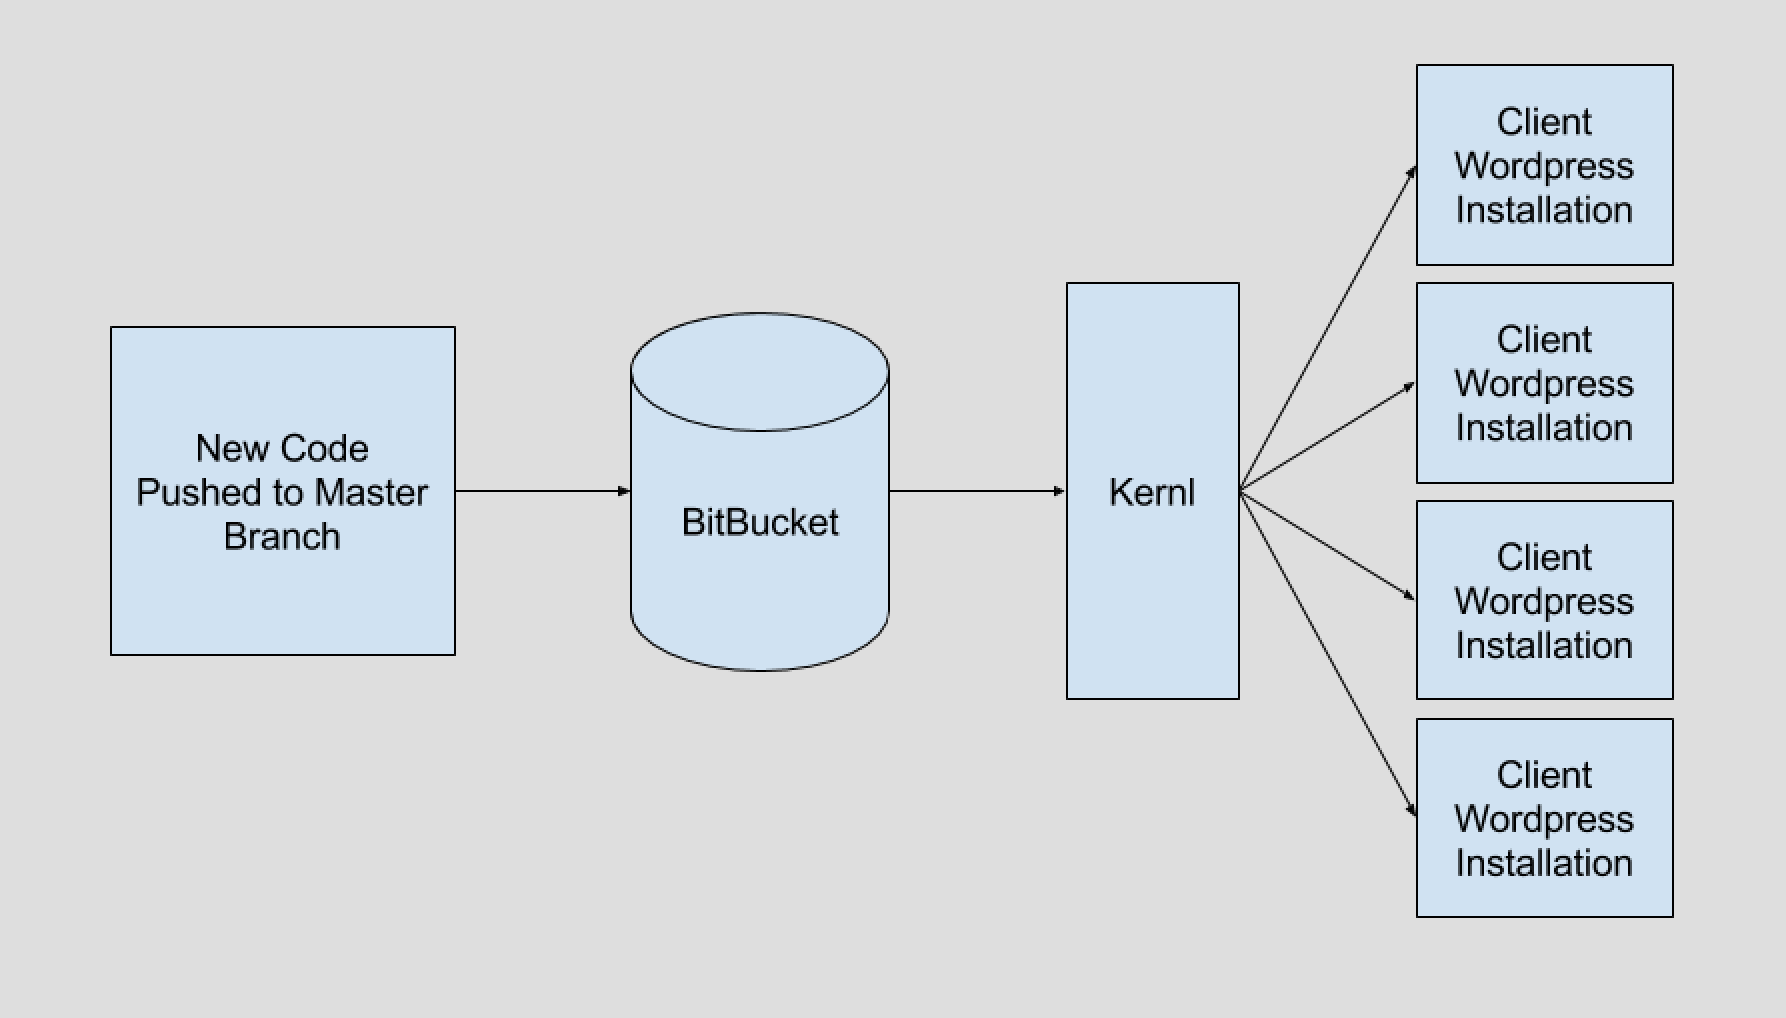
Just like with my WordPress plugin deployments on Kernl, I believe in automating everything. This setup integrates seamlessly with whatever CI/CD pipeline you’re using. Just commit the script and .ebextensions config to your repository, and it’ll run automatically on every deployment.
The script is smart enough to handle both initial installations and updates, so you don’t need to worry about running different commands for different scenarios. It’ll also restart the service automatically when the configuration changes.
Troubleshooting
If you run into any issues, check:
- The Elastic Beanstalk deployment logs in
/var/log/eb-activity.log - The Alloy service logs (you can use
tail -f /var/log/messagesto see service-related messages) - Make sure your environment variables are set correctly in the Elastic Beanstalk environment
Wrapping Up
This setup has saved me tons of time managing log collection across multiple Elastic Beanstalk environments. Instead of SSH-ing into instances or manually configuring log shipping, everything is automated and version controlled.
If you’re using Grafana Loki for log aggregation, I highly recommend giving this setup a try. The automated installation process makes it easy to standardize log collection across all your environments, and the integration with Elastic Beanstalk’s deployment process means you’ll never have to manually install or update Alloy again.